
Cart
0
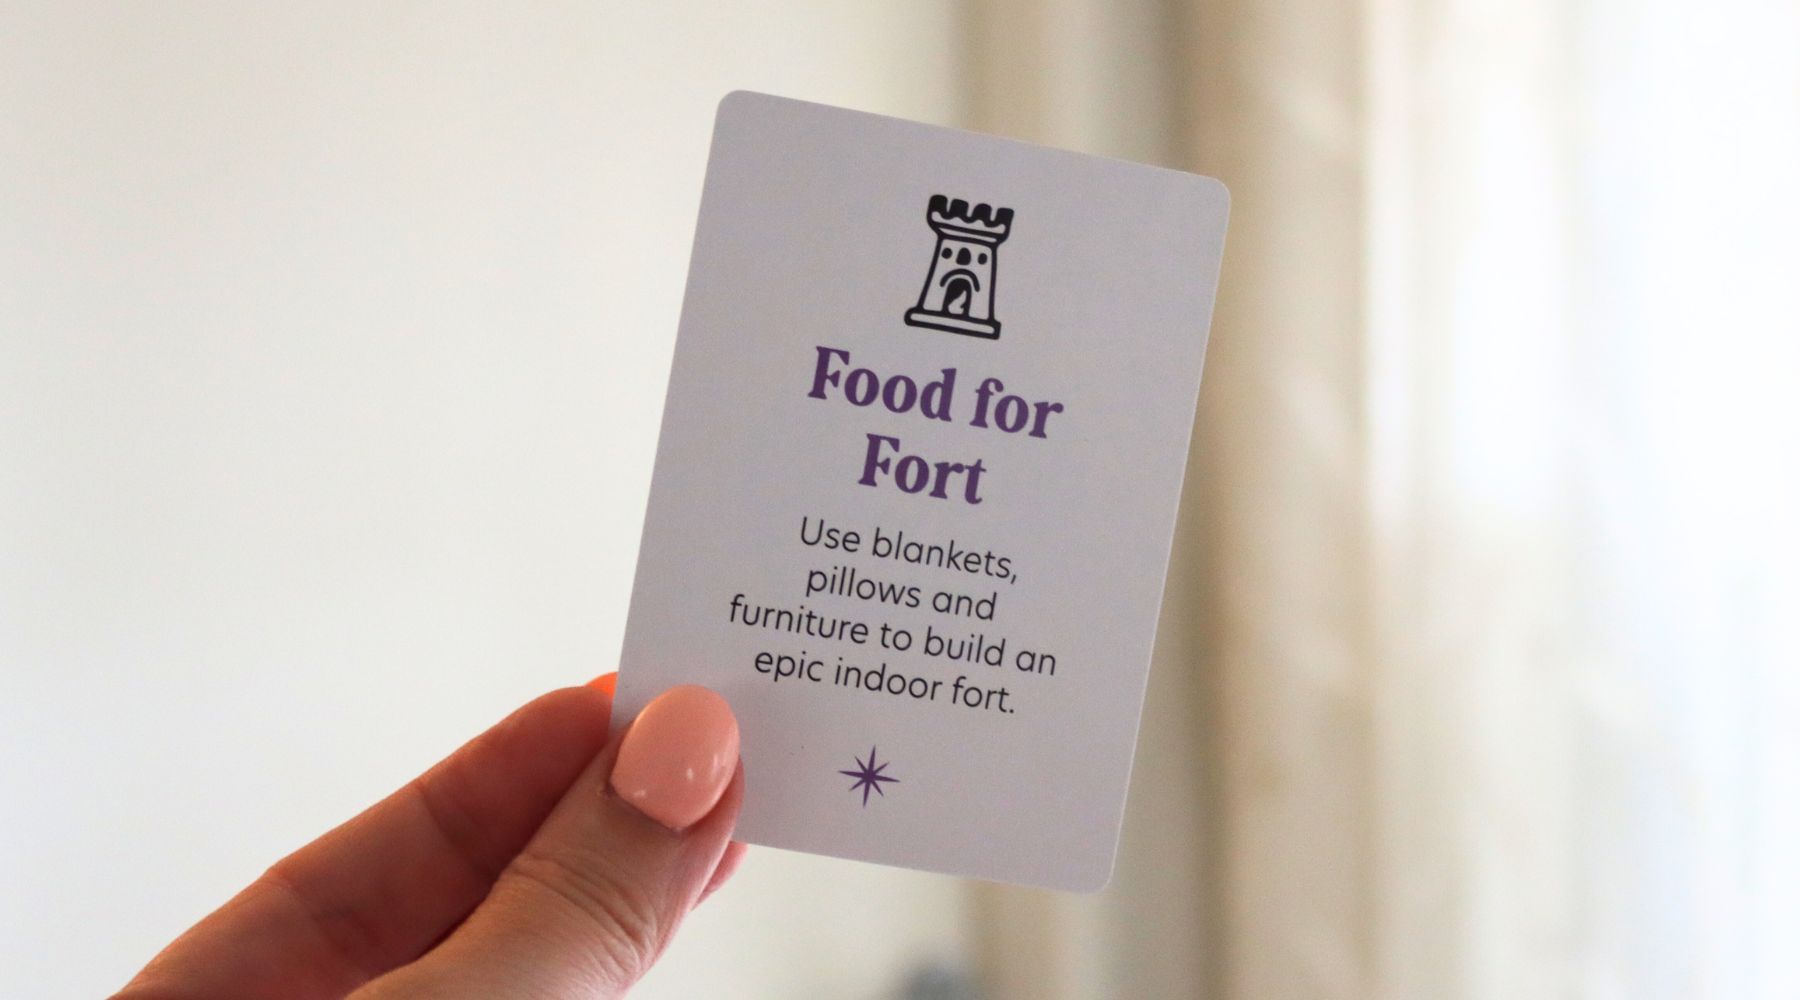
Who doesn’t love a cozy fort? Building an indoor fort is a fantastic way to spark creativity and have fun while spending time with family. With just a few blankets, pillows, and some imagination, you can create a magical hideaway where adventures and snack time come together! In this blog, we’ll show you how to build the perfect fort and enjoy delicious snacks inside your cozy creation.
Why Build a Fort?
Building a fort is not just about creating a fun space; it’s an opportunity to engage in imaginative play, teamwork, and problem-solving. It allows kids to express their creativity and enjoy a sense of accomplishment once the fort is complete. Plus, sharing snacks in your new hideaway makes it even more special!
Getting Started: What You’ll Need
Before you start building, gather these materials:
- Blankets: Look for your favourite blankets—big ones work best!
- Pillows and Cushions: Soft pillows will make your fort cozy.
- Chairs and Furniture: Use chairs or tables as the framework for your fort.
- Fairy Lights (optional): For added magic, string lights can make your fort glow.
- Snacks: Prepare some fun snacks to enjoy inside your fort!
Step-by-Step Guide to Building Your Fort
1. Choose Your Location
Pick a spacious area in your home, like the living room or a bedroom, where you can build your fort. Make sure you have enough space to move around and enjoy your snacks!
2. Set Up the Framework
Start with furniture! Use chairs, sofas, or tables to create the structure of your fort. Here’s how:
- Use Chairs: Place chairs in a circle or facing each other, leaving a space for an entrance.
- Table Tent: If you have a small table, you can drape blankets over it to create a roof.
3. Drape the Blankets
Once your framework is ready, drape your blankets over the furniture to form the walls and roof of your fort. Make sure to leave an opening for the entrance. You can use clothespins or clips to hold the blankets in place if needed.
4. Add Pillows and Cushions
Make the inside of your fort comfy by filling it with pillows and cushions. This is where you’ll relax and enjoy your snacks! You can even create a cozy seating area with a few fluffy pillows.
5. Decorate Your Fort (Optional)
If you want to make your fort even more special, add decorations! You can hang fairy lights inside, place stuffed animals around, or even draw pictures to decorate the walls.
Snack Time Inside Your Fort!
Once your fort is ready, it’s time to enjoy some snacks! Here are a few fun ideas:
- Trail Mix: Mix nuts, dried fruit, and a few chocolate pieces for a yummy snack.
- Fruit Skewers: Use wooden skewers to make colourful fruit kabobs.
- Peanut Butter and Banana Wraps: Spread peanut butter on a tortilla, add banana slices, roll it up, and cut into bite-sized pieces.
Understanding the Benefits of Fort Building
Building an indoor fort is more than just fun; it has great benefits, too:
- Creativity: Designing and building a fort encourages imaginative play.
- Teamwork: Working together as a family helps develop communication and collaboration skills.
- Problem-Solving: Figuring out how to make the fort sturdy and cozy challenges kids to think critically.
Safety First
- Secure Your Fort: Ensure that the fort is stable and not at risk of collapsing.
- Be Mindful of Climbing: If you’re using furniture to build your fort, avoid climbing on it to prevent falls.
Fun Fact
Did you know? The tradition of building forts dates back to ancient times when children would create shelters using branches and leaves in the woods. Today, forts continue to spark imagination and creativity, just like they did for kids in the past!
Wrapping Up Your Adventure
Creating an indoor fort is a delightful way to spend time together as a family. With your cozy hideaway ready and tasty snacks in hand, you can share stories, play games, or just relax in your new space. So gather your blankets and pillows, get building, and enjoy a fun-filled snack time in your very own fort!

