Cart
0
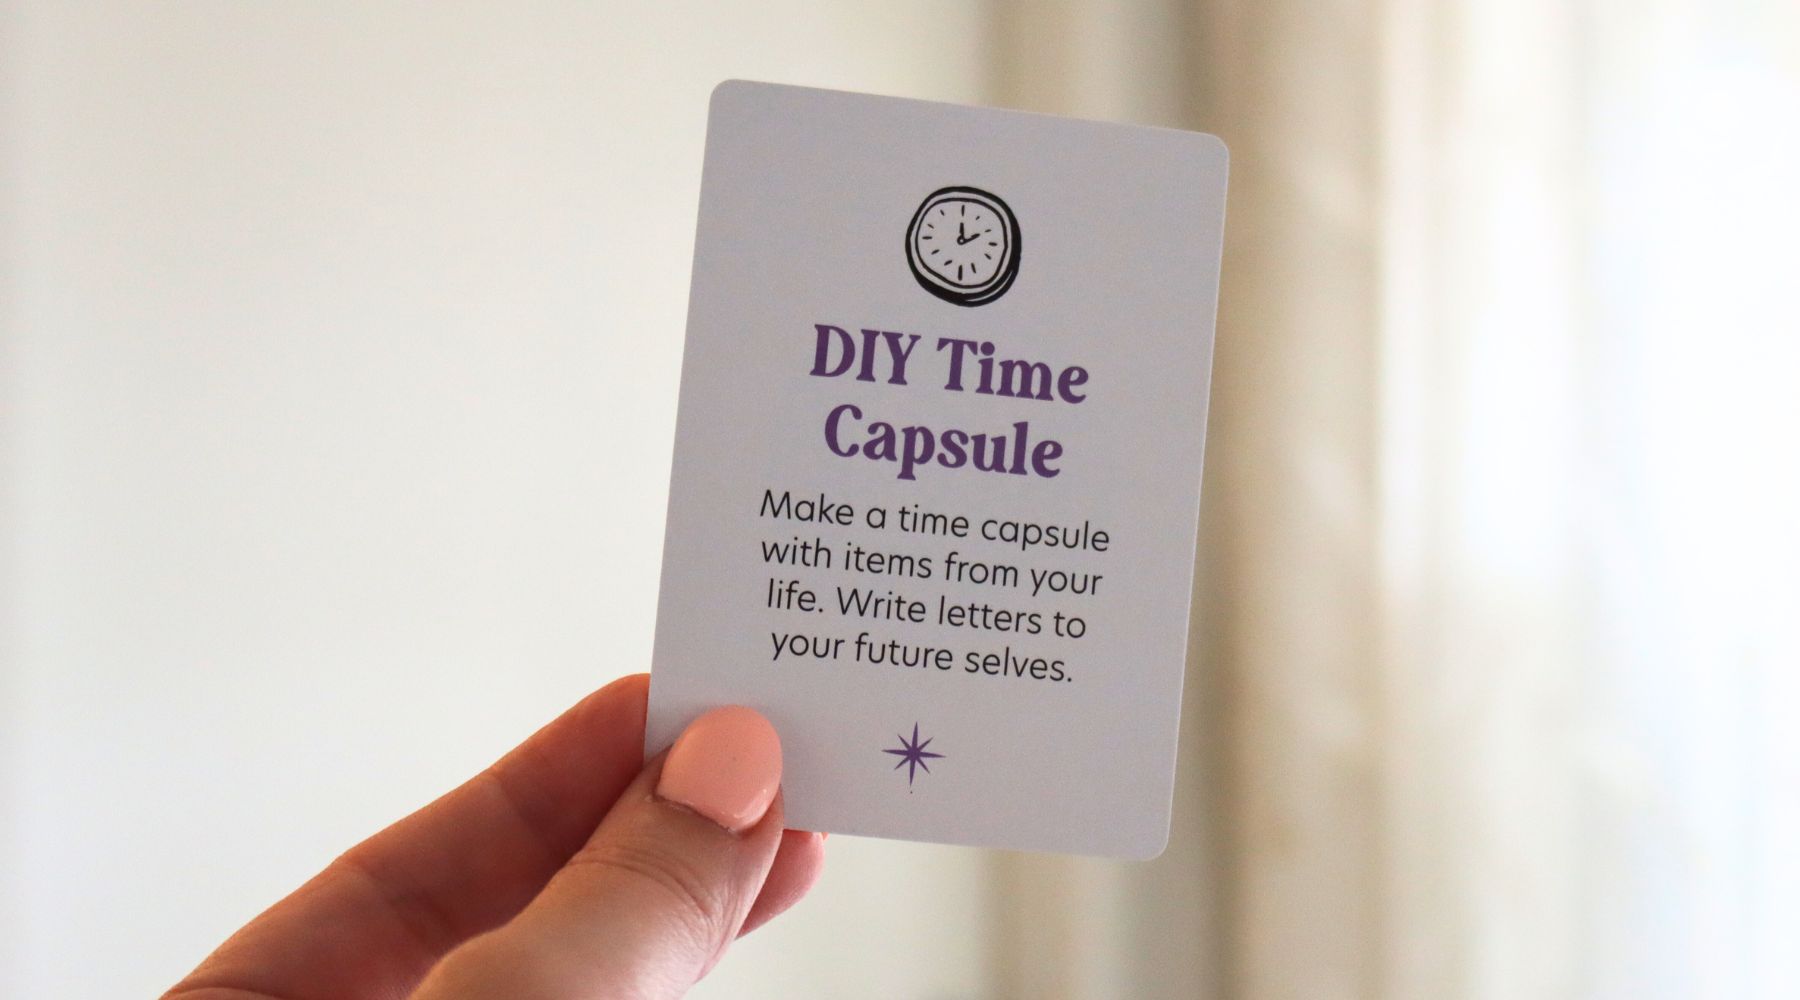
Have you ever wondered what life will be like in the future? With a DIY Time Capsule, you can capture a little piece of today and see how things change over time! This fun activity allows you to collect meaningful items, write letters to your future self, and create a treasure trove of memories. Let’s get started!
Why Create a Time Capsule?
Creating a time capsule is a fantastic way to remember special moments and experiences. It’s like sending a message to your future self! You can look back in a few years and see how much you’ve grown and changed. Plus, it’s a great way to bond with family as you share stories and memories.
What You'll Need:
Gather your time capsule supplies! Here’s what you’ll need:
- A Container: Use a sturdy box, a jar, or even a metal tin. Make sure it can be sealed tightly!
- Items to Include: Choose items that represent your life right now, such as:
- Photographs
- Favourite toys or trinkets
- Art or drawings
- Newspaper clippings
- Shells or leaves from a recent adventure
- Paper and Writing Tools: Grab some paper and pens to write your letters and notes.
Step 1: Pick a Date for Opening
Before you start collecting items, decide when you want to open your time capsule. It could be in one year, five years, or even ten! Mark the date on your calendar, so you remember.
Step 2: Choose Your Items
Now it’s time to gather items that represent your current life! Here are some ideas:
- A Letter to Your Future Self: Write about your hopes, dreams, and what life is like right now. Share your favourite things, friends, and activities!
- Drawings or Artwork: Create a piece of art that shows what you love or how you feel today.
- A Small Favourite Toy: Include a tiny toy or trinket that holds special meaning for you.
- Photos: Print out a few pictures of you and your family or friends.
Step 3: Write Letters
Encourage everyone participating to write a letter to their future self. Here’s what you can include:
- What are your current favourite hobbies?
- What are your dreams for the future?
- Any advice you want to give your future self?
- How do you feel today?
Step 4: Assemble Your Time Capsule
Once you have all your items and letters, it’s time to put everything in your container! Here’s how:
- Organize Your Items: Lay everything out and decide the order in which you want to place them in the capsule.
- Seal It Up: Once everything is in the container, seal it tightly to protect your treasures.
Step 5: Bury or Store Your Capsule
Decide on a special spot to keep your time capsule. If you’re burying it in the backyard, make sure to mark the spot with a flag or a stone. If you’re storing it indoors, choose a place where you can easily find it later.
Fun Facts:
- Did you know that the idea of time capsules dates back to ancient civilizations? People would bury objects as a way to communicate with the future!
- The first modern time capsule was created in 1938 and is buried in Massachusetts. It’s called the “Crypt of Civilization” and will be opened in the year 8113!
Wrap Up Your Time Capsule
Congratulations on creating your very own time capsule! You’ve captured a snapshot of your life right now, and in the future, you’ll get to relive those memories. Remember, the joy of this activity is not just in what you put inside but also in the stories you share and the time you spend with family.
So, when the opening date arrives, gather your family and open the capsule together. It’ll be a delightful trip down memory lane!