Cart
0
Did you know you can cook your favourite treats using just the power of the sun? With a few simple materials, you can build a solar oven that lets you harness the sun's energy to make delicious s’mores. It’s a fun way to learn about solar energy and enjoy a tasty treat at the same time!
What is a Solar Oven?
A solar oven uses the heat from sunlight to cook food. It works by trapping sunlight and converting it into heat, just like a greenhouse. This DIY solar oven is perfect for melting chocolate and marshmallows for s’mores!
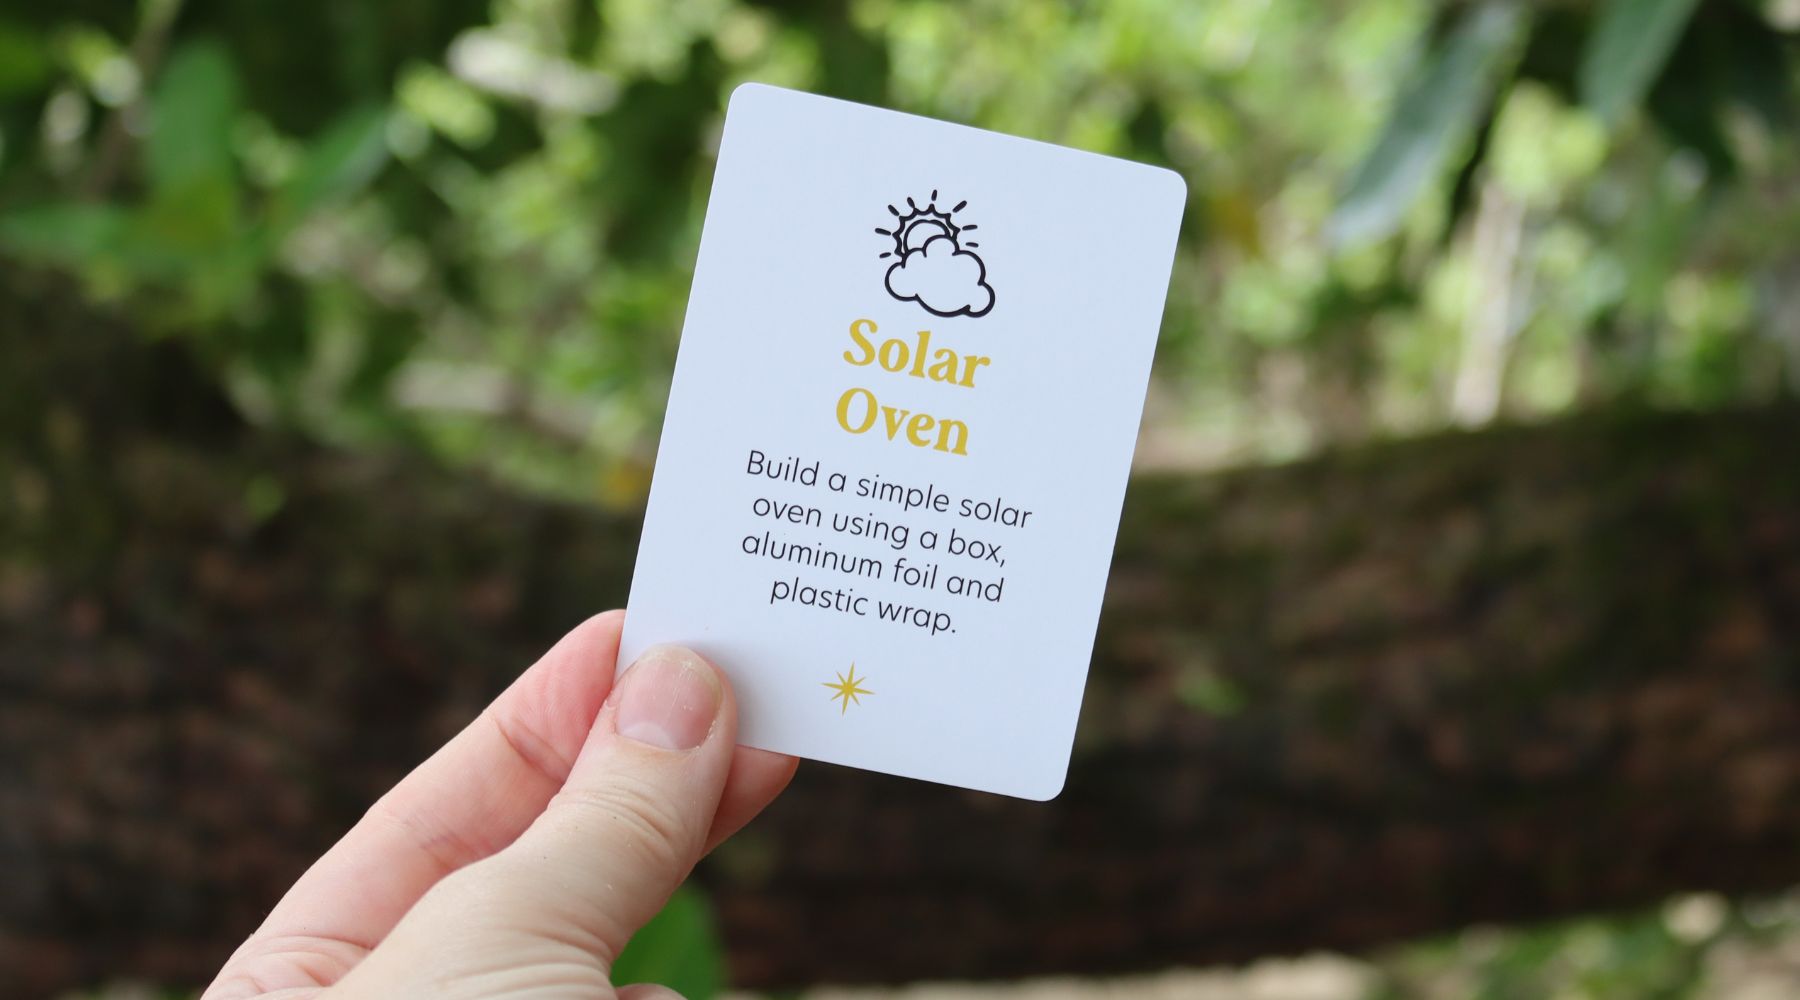
Materials You’ll Need:- A cardboard box with a lid (a pizza box works great, but any box will do)
- Aluminium foil
- Plastic wrap (cling film)
- Black construction paper
- Tape
- A ruler or stick (to prop the lid open)
- Scissors
- S’mores ingredients (graham crackers, chocolate, marshmallows)
Step-by-Step Guide to Building Your Solar Oven
1. Prepare the Box
Start by choosing a cardboard box with a lid. If you’re using a pizza box, you're ready to go. If your box doesn’t have a lid, cut one side of the box to make a flap that can open and close, just like a pizza box.
2. Line the Box with Aluminum Foil
To capture as much sunlight as possible, line the inside of the box with aluminium foil. This will help reflect the sunlight into your oven. Cover the bottom and the inside walls of the box, and tape the foil down so it stays in place.
3. Add Black Paper
Place a piece of black construction paper at the bottom of the box. The black colour absorbs heat, helping to cook your food faster. This is where you'll place your s'mores.
4. Make a Lid Reflector
If your box has a lid, cover the inside of it with aluminium foil. The shiny surface will reflect sunlight into the box. If your box doesn't have a lid, you can make a flap using cardboard and cover it with foil. This flap should angle the sunlight into the oven.
5. Cover the Opening with Plastic Wrap
Now, cut a piece of plastic wrap large enough to cover the opening of your box. Tape it securely over the opening. This plastic wrap acts like the glass in a greenhouse, trapping the sun’s heat inside your solar oven while still allowing sunlight to pass through.
6. Prop the Lid Open
Use a ruler or stick to prop the lid or flap open at an angle. Adjust the angle so that as much sunlight as possible reflects into the box.
Time to Cook S’mores!
- Assemble Your S’mores: Place a graham cracker on the black paper at the bottom of your solar oven. Add a piece of chocolate and a marshmallow on top. Put another graham cracker on top to complete your s’more.
- Position Your Oven: Take your solar oven outside and place it in direct sunlight. Make sure the flap is angled so that sunlight reflects into the box.
- Wait for the Magic: Let the oven sit in the sun for about 30-60 minutes, depending on how sunny it is. The marshmallow and chocolate will start to melt, creating gooey, delicious s'mores!
- Enjoy!: Once your s'mores are melty and ready, carefully open the solar oven and enjoy your treat!
How Does It Work?
The aluminium foil reflects sunlight into the box, and the plastic wrap traps the heat inside. The black paper absorbs the heat, creating a warm environment perfect for melting chocolate and marshmallows. This simple solar oven demonstrates how solar energy can be used to cook food, without the need for electricity or fire!
Solar Oven Tips:
- Best Time to Cook: Solar ovens work best on a sunny day when the sun is high in the sky. Midday is the ideal time to start your cooking adventure.
- Angle the Lid: Adjust the angle of the lid or flap as the sun moves to capture as much sunlight as possible.
- Be Patient: Solar ovens cook slowly, so take your time and enjoy the process. The sun's energy will melt the marshmallows and chocolate, but it won’t happen as fast as in a regular oven.
This solar oven project is perfect for camping trips, outdoor adventures, or backyard fun. It’s an exciting way to learn about solar energy while making a sweet snack!