Cart
0
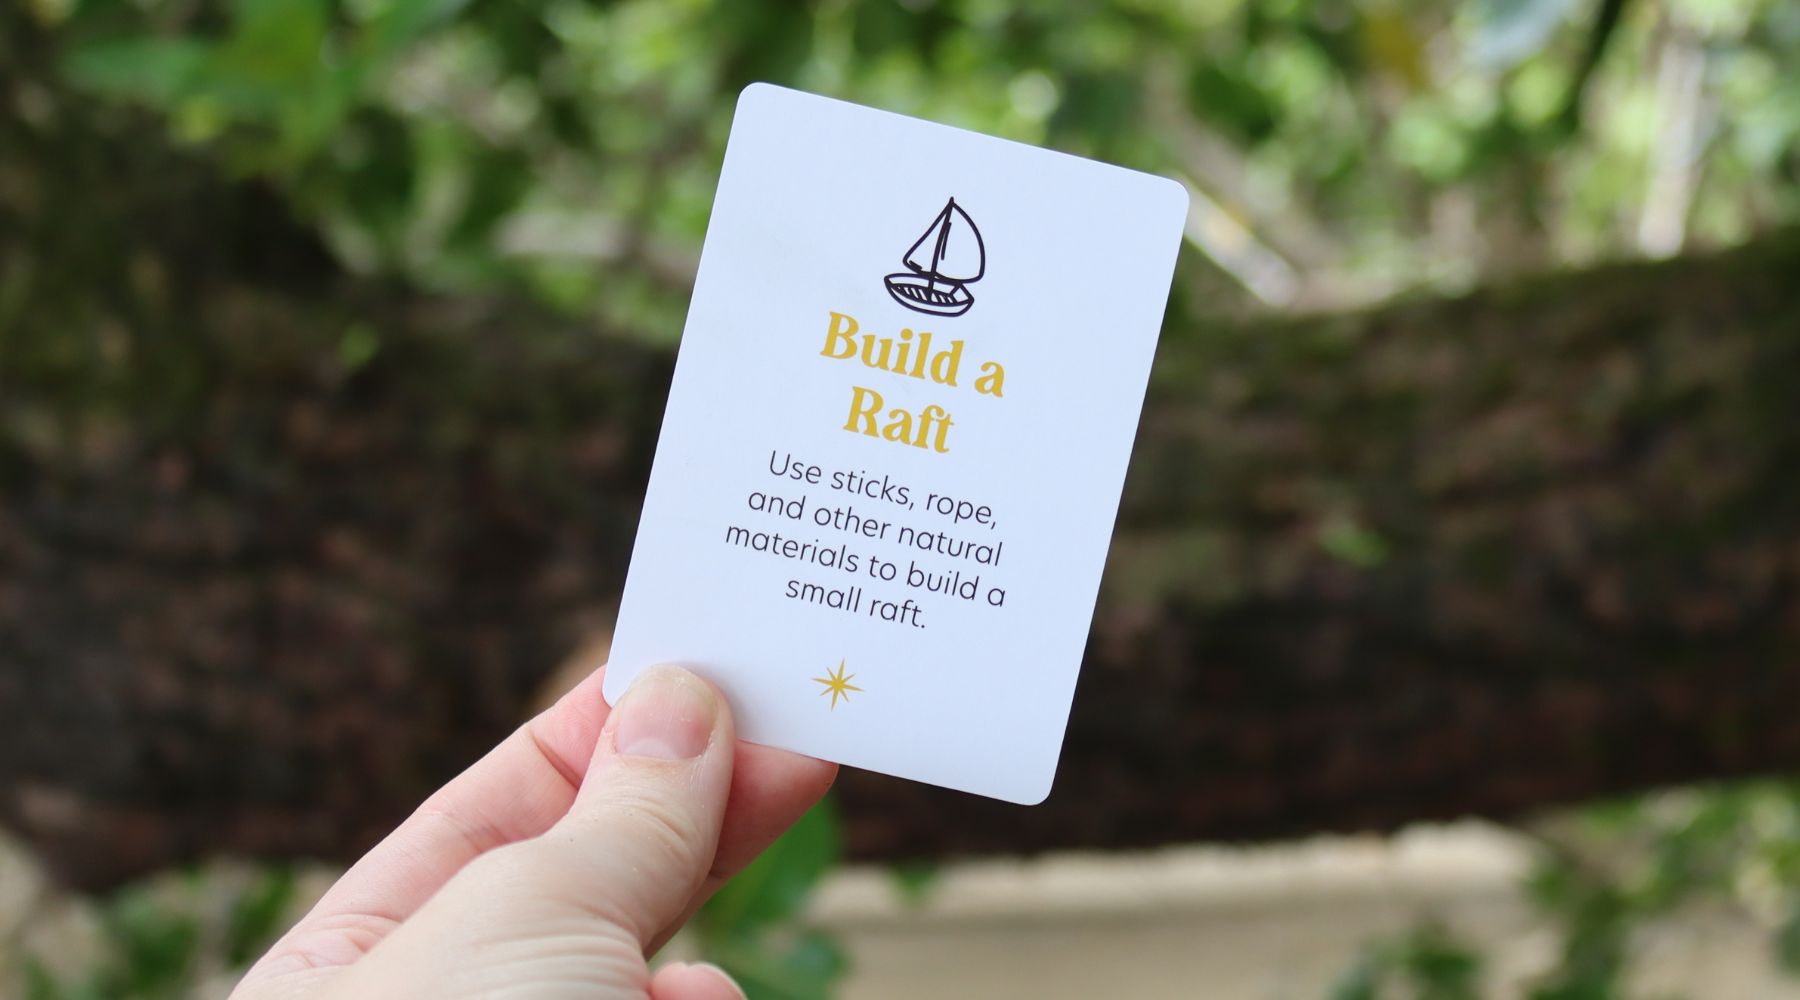
Building a small raft is a fun and creative way to use natural materials from the outdoors. Whether you're planning to float it in a stream or just test it in a puddle, learning to build a raft teaches valuable skills in construction, knot-tying, and problem-solving. In this blog, we’ll guide you through making your own raft using sticks, rope, and other materials you can find in nature.
What You’ll Need:
- Sturdy sticks or branches (look for ones that are strong but not too thick)
- Rope or twine (natural fibre rope works best, but any strong cord will do)
- Leaves, bark, or other flat materials for the raft’s surface (optional)
- A small water source (like a pond, creek, or even a tub) to test your raft
- A knife or scissors (optional, for cutting rope)
Step-by-Step Guide to Building Your Raft
1. Gather Your Materials
Head outside and collect several strong sticks or branches that are roughly the same length. You’ll need about 8-10 sticks, depending on the size of your raft. Make sure the sticks are sturdy enough to hold together without breaking.
2. Lay Out the Foundation
Place your sticks side by side to form the base of your raft. Make sure they are roughly the same length, and try to align them as evenly as possible. This will be the main surface of your raft.
3. Cut and Prepare Your Rope
Cut several pieces of rope or twine that are long enough to tie the sticks together securely. If you don’t have rope, you can use long grasses, vines, or strips of bark as natural alternatives.
4. Tie the Sticks Together
Using the rope, tie the sticks together by wrapping the rope tightly around each end of the raft. A good knot to use is the square-lashing knot, which will hold the sticks firmly in place:
- Place the first stick and tie the rope securely around it.
- Wrap the rope around the next stick in an “X” pattern.
- Keep wrapping until all sticks are tied together at both ends.
- Secure the rope with a strong knot at the end to prevent it from unravelling.
5. Add a Crossbeam for Stability (Optional)
To make your raft more stable, you can tie one or two sticks across the width of the raft. Place these crossbeams near the front and back of your raft and tie them securely to the main structure. This will help keep your raft from bending or twisting.
6. Create a Flat Surface (Optional)
If you want a smoother surface for your raft, use large leaves, bark, or flat sticks to cover the top of the raft. Simply place them across the sticks and tie or weave them into place.
7. Test Your Raft
Once your raft is built, it’s time to see if it floats! Take it to a small body of water like a pond, stream, or even a tub. Gently place the raft in the water and watch how it behaves. If it floats, great! If it tips over or sinks, see if you can adjust the sticks or add more flotation to make it work.
Knots You Can Use
- Square Lashing: This knot is perfect for tying sticks together. Wrap the rope around two sticks in a cross shape, pulling tight with each wrap. After a few wraps, tie the ends of the rope together with a secure knot.
- Clove Hitch: This knot is great for securing rope to a single post or stick. It’s simple but strong, making it ideal for starting your raft’s foundation.
What to Do If Your Raft Sinks
Don’t worry if your first raft doesn’t float perfectly. Here are a few tips to improve it:
- Add more sticks: More sticks or thicker branches might give your raft extra buoyancy.
- Check your knots: Make sure all your knots are tight and secure. Loose knots can cause the raft to fall apart in the water.
- Balance the weight: If your raft tips to one side, try repositioning the sticks or adding more crossbeams for stability.
How Rafts Work
Rafts float because they are designed to displace water. The more water they displace, the more buoyant they are. Sticks are perfect for raft-building because they trap air between them, which helps them stay afloat. The better you tie the sticks together, the more stable your raft will be on the water.
Wrapping Up Your Raft-Building Adventure
Building a raft is a great way to use your creativity and problem-solving skills. You’ll get to work with natural materials, practice knot-tying, and see the results of your hard work when your raft floats. Whether you test your raft in a stream or use it for imaginary adventures, you’ll have learned some valuable survival skills along the way!